Descrizione
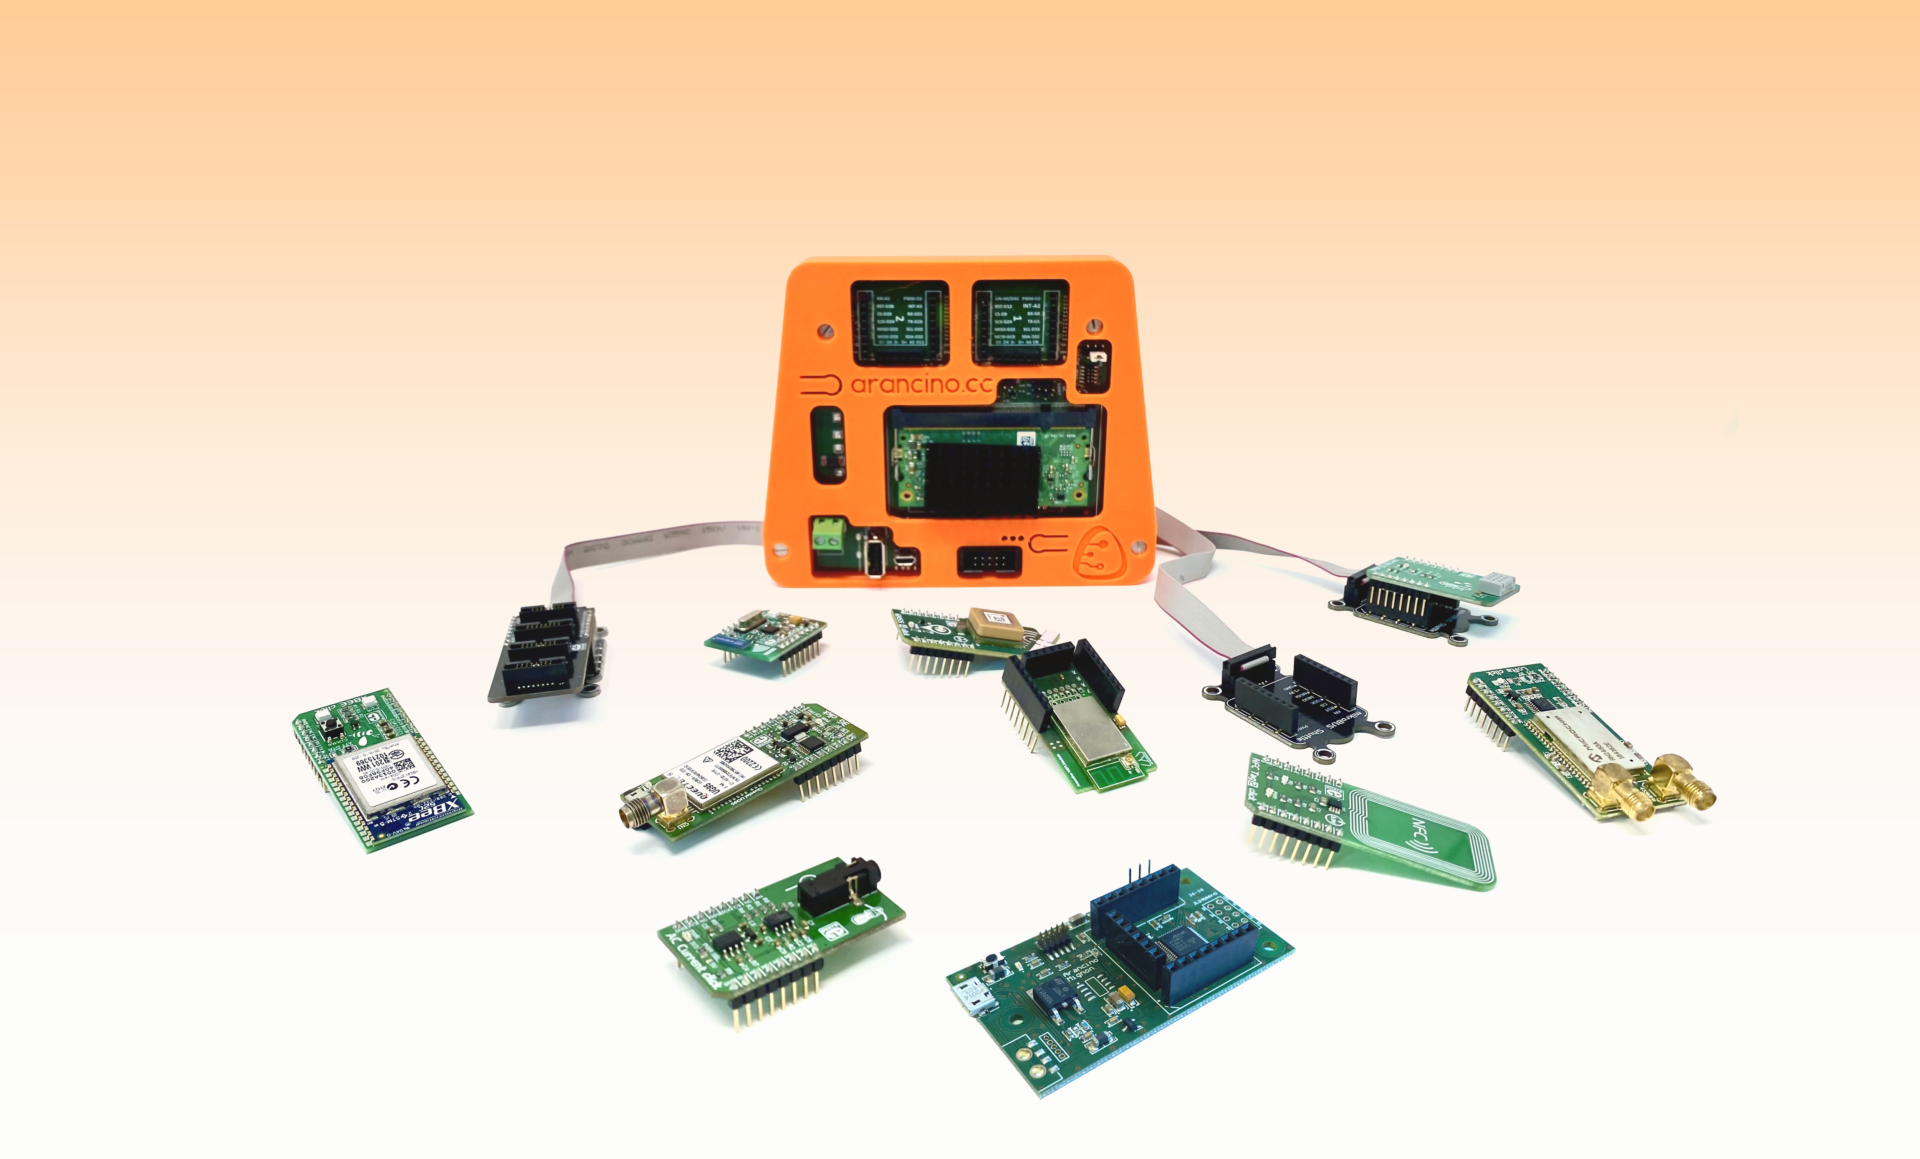
Nella guida seguente, utilizzeremo la scheda Arancino.cc Board (v.1.0.2) sul cui Arancino Connector sono montati un Buzzer Click ed un Motion Click. L’esercizio comprende:
- l’acquisizione di una presenza da parte del sensore di movimento;
- l’invio dei dati dalla Board alla Dashboard di NodeRed;
- riproduzione animazione sonora dal Buzzer.
Motion click: è un rilevatore di movimento sensibile solo ai corpi vivi. Utilizza un sensore piroelettrico PIR500B. Il click è progettato per funzionare con alimentazione a 3,3 V. Comunica con l’MCU target tramite RST e pin INT sulla linea mikroBUS™. (https://www.mikroe.com/motion-click)
Buzzer click: La scheda dispone di un altoparlante piezo in grado di emettere segnali audio. La frequenza di risonanza del cicalino è di 3,8 kH. Il driver del cicalino di bordo è collegato sia alla linea digitale (CS) che PWM. È possibile utilizzare uno di questi due per fornire il segnale dal microcontrollore al driver del cicalino. La scheda è impostata per utilizzare l’alimentazione a 5 V per impostazione predefinita. (https://www.mikroe.com/buzz-click)
Compatibilità:
- Arancino Board
- Arancino Mignon
Sketch Arduino
Librerie Arduino necessarie
- https://gist.github.com/mikeputnam/2820675 (da copiare negli appunti )
- https://download.smartme.io/artifactory/arancino-library/
#include <Arancino.h>
#include "pitches.h"
#define intPin A2

volatile byte isPresent = 0;
int counter = 0;
ArancinoMetadata amdata = {
  .fwname = "Motion",
  .fwversion = "1.0.1",
  .tzoffset = "+1000"
};
int melody[] = {
  NOTE_FS5, NOTE_FS5, NOTE_D5, NOTE_B4, NOTE_B4, NOTE_E5,
  NOTE_E5, NOTE_E5, NOTE_GS5, NOTE_GS5, NOTE_A5, NOTE_B5,
  NOTE_A5, NOTE_A5, NOTE_A5, NOTE_E5, NOTE_D5, NOTE_FS5,
  NOTE_FS5, NOTE_FS5, NOTE_E5, NOTE_E5, NOTE_FS5, NOTE_E5
};
int durations[] = {
  8, 8, 8, 4, 4, 4,
  4, 5, 8, 8, 8, 8,
  8, 8, 8, 4, 4, 4,
  4, 5, 8, 8, 8, 8
};

int songLength = sizeof(melody)/sizeof(melody[0]);

void play(){
  for (int thisNote = 0; thisNote < songLength; thisNote++){
    // determine the duration of the notes that the computer understands
    // divide 1000 by the value, so the first note lasts for 1000/8 milliseconds
    int duration = 1000/ durations[thisNote];
    tone(3, melody[thisNote], duration);
    // pause between notes
    int pause = duration * 1.3;
    delay(pause);
    // stop the tone
    noTone(8);
  }
}
void presenceDetected(){
  isPresent = 1;
}
void setup() {
  // put your setup code here, to run once:
  Arancino.begin(amdata);
  attachInterrupt(digitalPinToInterrupt(intPin), presenceDetected, RISING);
}
void loop() {
  // put your main code here, to run repeatedly:
  if (isPresent == 1){
    isPresent = 0;
    Arancino.set("Presence", counter++);
    play();
  }
  delay(1000);
}
Flusso Node-Red
Per visualizzare i dati ricevuti dai sensori tramite Node-Red fare riferimento a questa guida …
[
    {
        "id": "efbf50ad.bd9a2",
        "type": "tab",
        "label": "Motion click",
        "disabled": false,
        "info": ""
    },
    {
        "id": "8f4e90d9.54ed7",
        "type": "inject",
        "z": "efbf50ad.bd9a2",
        "name": "",
        "topic": "",
        "payload": "",
        "payloadType": "date",
        "repeat": "5",
        "crontab": "",
        "once": false,
        "onceDelay": 0.1,
        "x": 150,
        "y": 320,
        "wires": [
            [
                "a218553.b14f0a8"
            ]
        ]
    },
    {
        "id": "a218553.b14f0a8",
        "type": "function",
        "z": "efbf50ad.bd9a2",
        "name": "Rilevazioni",
        "func": "msg.payload=['Presence'];\nreturn msg;",
        "outputs": 1,
        "noerr": 0,
        "x": 410,
        "y": 320,
        "wires": [
            [
                "9b3204a8.b01c78"
            ]
        ]
    },
    {
        "id": "9b3204a8.b01c78",
        "type": "redis-command",
        "z": "efbf50ad.bd9a2",
        "server": "64a576f8.c30928",
        "command": "get",
        "name": "",
        "topic": "",
        "x": 640,
        "y": 320,
        "wires": [
            [
                "320158ef.c0f878",
                "6cc233c9.ce1c1c"
            ]
        ]
    },
    {
        "id": "320158ef.c0f878",
        "type": "ui_gauge",
        "z": "efbf50ad.bd9a2",
        "name": "",
        "group": "c84aef76.182bf",
        "order": 0,
        "width": 0,
        "height": 0,
        "gtype": "gage",
        "title": "Detection",
        "label": "units",
        "format": "{{value}}",
        "min": 0,
        "max": "100",
        "colors": [
            "#00b500",
            "#e6e600",
            "#ca3838"
        ],
        "seg1": "",
        "seg2": "",
        "x": 910,
        "y": 340,
        "wires": []
    },
    {
        "id": "6cc233c9.ce1c1c",
        "type": "debug",
        "z": "efbf50ad.bd9a2",
        "name": "",
        "active": true,
        "tosidebar": true,
        "console": false,
        "tostatus": false,
        "complete": "payload",
        "targetType": "msg",
        "x": 1030,
        "y": 240,
        "wires": []
    },
    {
        "id": "64a576f8.c30928",
        "type": "redis-config",
        "z": 0,
        "host": "127.0.0.1",
        "port": "6379",
        "dbase": " 0",
        "pass": ""
    },
    {
        "id": "c84aef76.182bf",
        "type": "ui_group",
        "z": "",
        "name": "Detection",
        "tab": "e0c0ad7a.7f6c8",
        "order": 2,
        "disp": true,
        "width": "6",
        "collapse": false
    },
    {
        "id": "e0c0ad7a.7f6c8",
        "type": "ui_tab",
        "z": "",
        "name": "Sensors",
        "icon": "dashboard",
        "order": 5,
        "disabled": false,
        "hidden": false
    }
]
